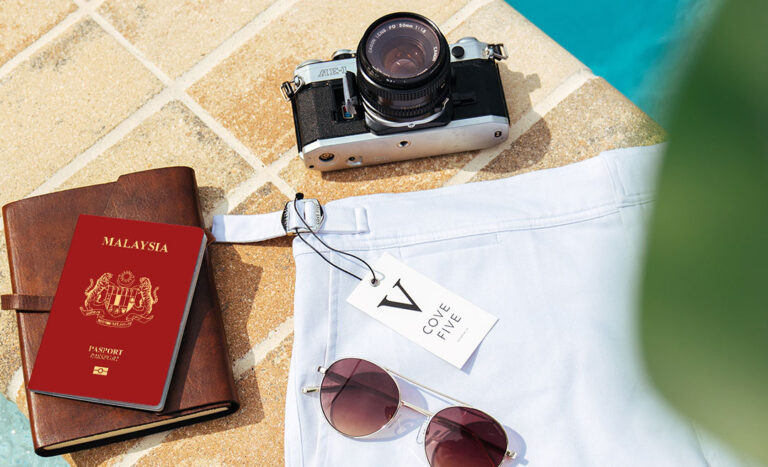
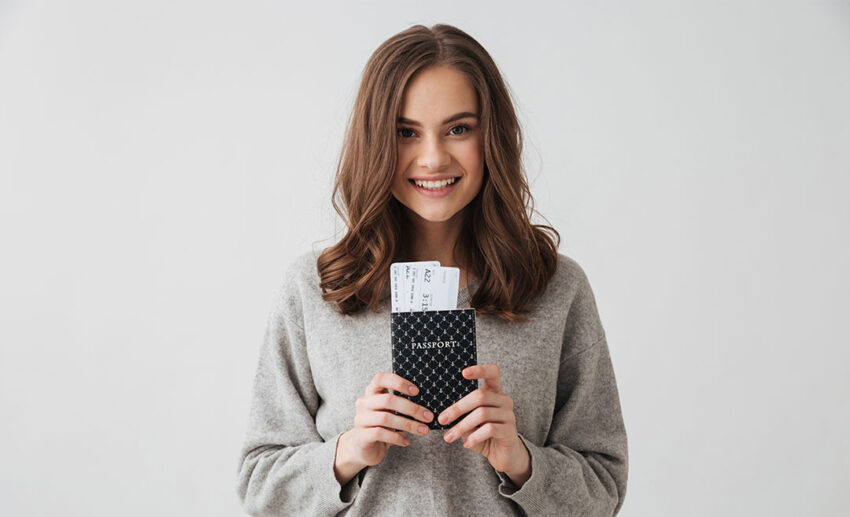
Tired of poorly edited passport photos? Here’s how you can do it at home and look your best. (Image by Cody Board. Edited by Xin Xin Lee.)
So, travel’s been back on for a while now, and one of the many things on a traveller’s list of to-dos is renewing the passport. For almost two years or so, travel was put on hold, and no one bothered renewing their passports, but now the time has come, and with renewal comes the impending doom of horrible passport photos. But could this be a thing of the past?
We’re about to share some tips and tricks on how to prep your passport-sized photos at home; it’s all done online. Yes, you read that right – thanks to advancing technology, you’re no longer required to head out to a photo studio in a mall. Below are some options to help elevate your passport picture (because who doesn’t want to look cute?) and how you can resize and edit for a more seamless online application process.
Options on renewing your passport photo
1. Going to a studio
Okay, we all know this method all too well, and what an arduous task it is. Having to drive to a mall, circle around in your car looking for parking, and then find your way to the photo studio there. Once you’ve found the place, you’re taking that awkward photo and having to wait for an hour until your images are ready. While such a service is still available, it’s outdated in this day and age.
2. Take your own passport photos
We’re all way too well-versed in taking pictures of ourselves, so why not put that to actual good use by taking our passport photos – in the comfort of our own homes, at that? Finding it a little daunting? Follow these easy steps below:
Step 1: Choose a plain and simple background – the simpler, the better. Avoid patterned and coloured backdrops at all costs, and opt for a neutral colour background instead. Often, the requirements are a white backdrop.
Step 2: Lighting is everything for a great passport photo (or any image). So, take your photo somewhere with lots of natural sunlight. If you’re doing it at night, avoid warm lights.
Step 3: Set up your camera so it’s directly within your focal point. Avoid placing it too high up or lower down – you’ll want it precisely at eye level. And, of course, smile – but lightly!
Alternatively, if you need a guarantee that your passport photo matches all official criteria, you can use a biometric photo app like PhotoAiD.
What to do after taking your own passport photo
Edit, edit, edit
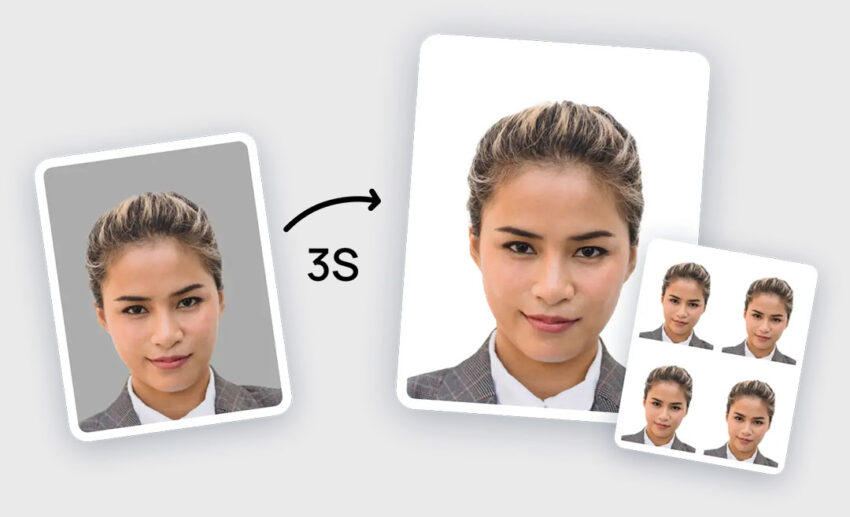
Just taking the photos at home is not enough; editing them is equally important. To do this, we suggest using apps or websites like AiPassPortPhotos, which has some user-friendly options for editing services and be sure to use a digital image instead of one that’s been scanned.
Once you’re done editing, resize your passport photos according to Malaysian immigration requirements. The website can be strict when uploading the right digital passport photo, so resizing is just as important, which is why AiPassPortPhotos come in handy!
We hope our quick tips will help your passport renewal process be more seamless than ever. Happy travels!